Today we’re going to follow up to Part 1 of my home-brewing series.
The next step takes place about 5 days after part 1. We’re going to begin “secondary fermentation,” aka putting our beer into a different container.
As always, the real first step is to sanitize everything. So my glass carboy (jug) gets sanitized with iodine and rinsed out. The same thing happens to a rubber stopper, a hose, and an airlock. This is about 10 minutes of work.

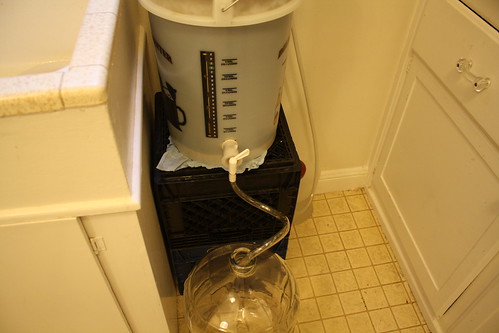
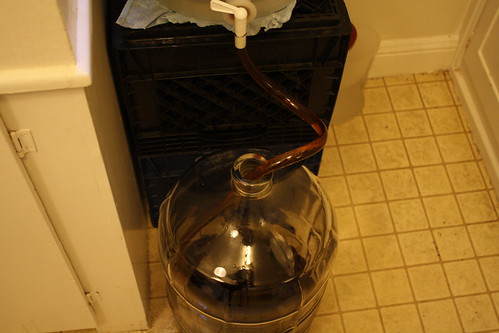
Next step: transferring the beer into a new container. All we do is plug in a hose and let gravity do the work.
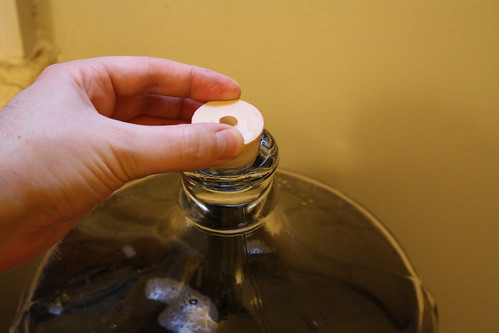
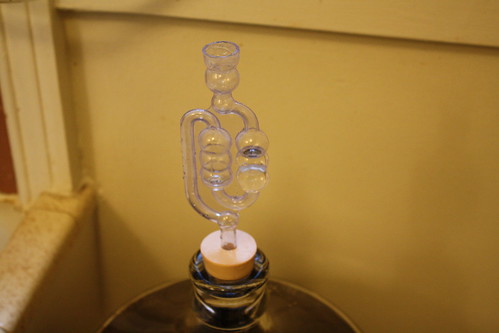
Now that our beer is moved, we plug up the glass carboy and cram in an airlock.
That’s it, we’re done with setting up our secondary fermentation.
If you’re paying attention, you’re no doubt wondering why we changed containers. The end result of part 1 and part 2 look very similar. So why bother?
Well the answer is simple — we left behind a bunch of sludge in the original container. We tossed the sludge and cleaned out the plastic bucket for next time. It’s like moving your fish while you clean out their bowl. The absence of this gunk makes the resulting beer more clear and less gunky.
Next time in my home-brewing series, we’re going to bottle the beer.